Available events
| Event | Description |
|---|---|
email.sent | The email has been accepted for delivery |
email.delivered | The email was successfully delivered to the recipient’s mail server |
email.opened | The recipient opened the email (requires open tracking on your domain) |
email.clicked | The recipient clicked a link in the email (requires click tracking) |
email.bounced | The email was rejected by the recipient’s server |
email.complained | The recipient marked the email as spam |
email.rejected | Nuntly refused to send the email due to a policy or configuration issue |
email.deliveryDelayed | Delivery to the recipient is temporarily delayed |
email.failed | The email could not be delivered |
Open and click tracking events require tracking to be enabled on your sending domain.
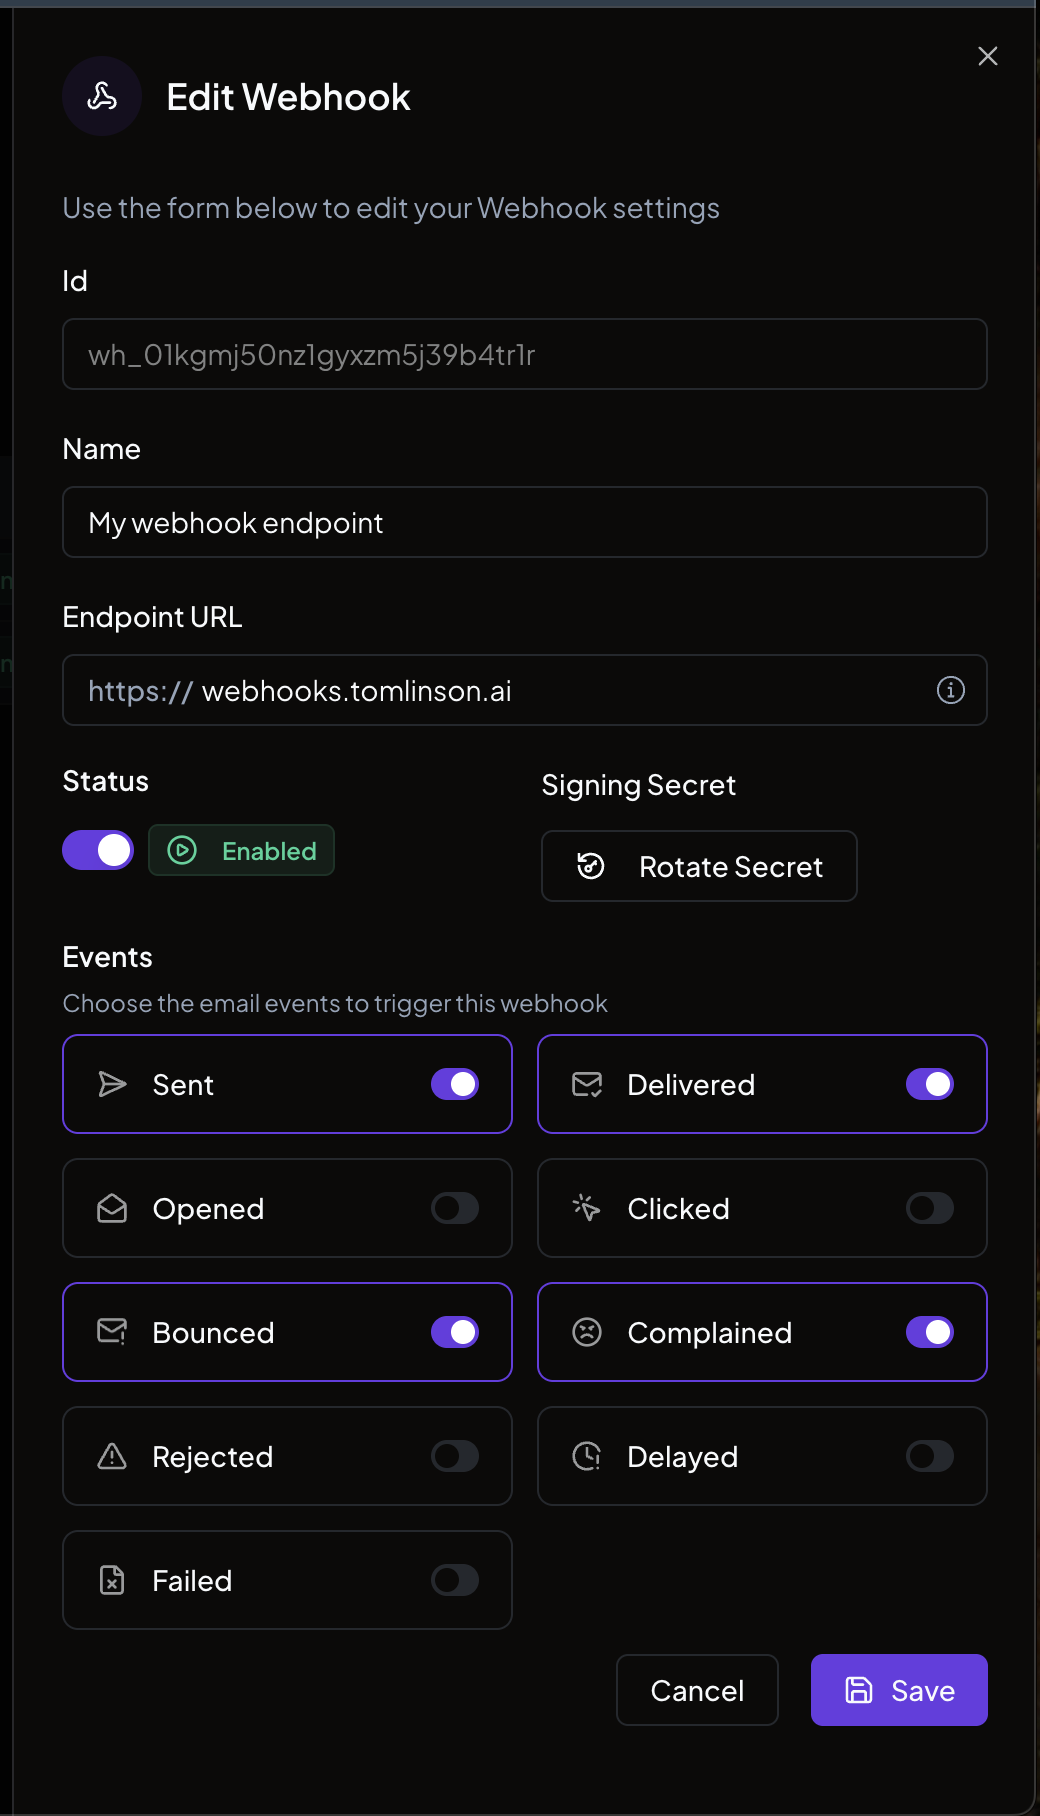
Create a webhook from the dashboard
- In the dashboard, go to Webhooks
- Click Create Webhook
- Fill in the form:
- Name. A descriptive label (for example, “Production listener”).
- Endpoint URL. The HTTPS URL where Nuntly will send events. This URL must be owned and controlled by you.
- Status. Set to Enabled or Disabled.
- Events. Select at least one event type to listen for.
- Click Create Webhook
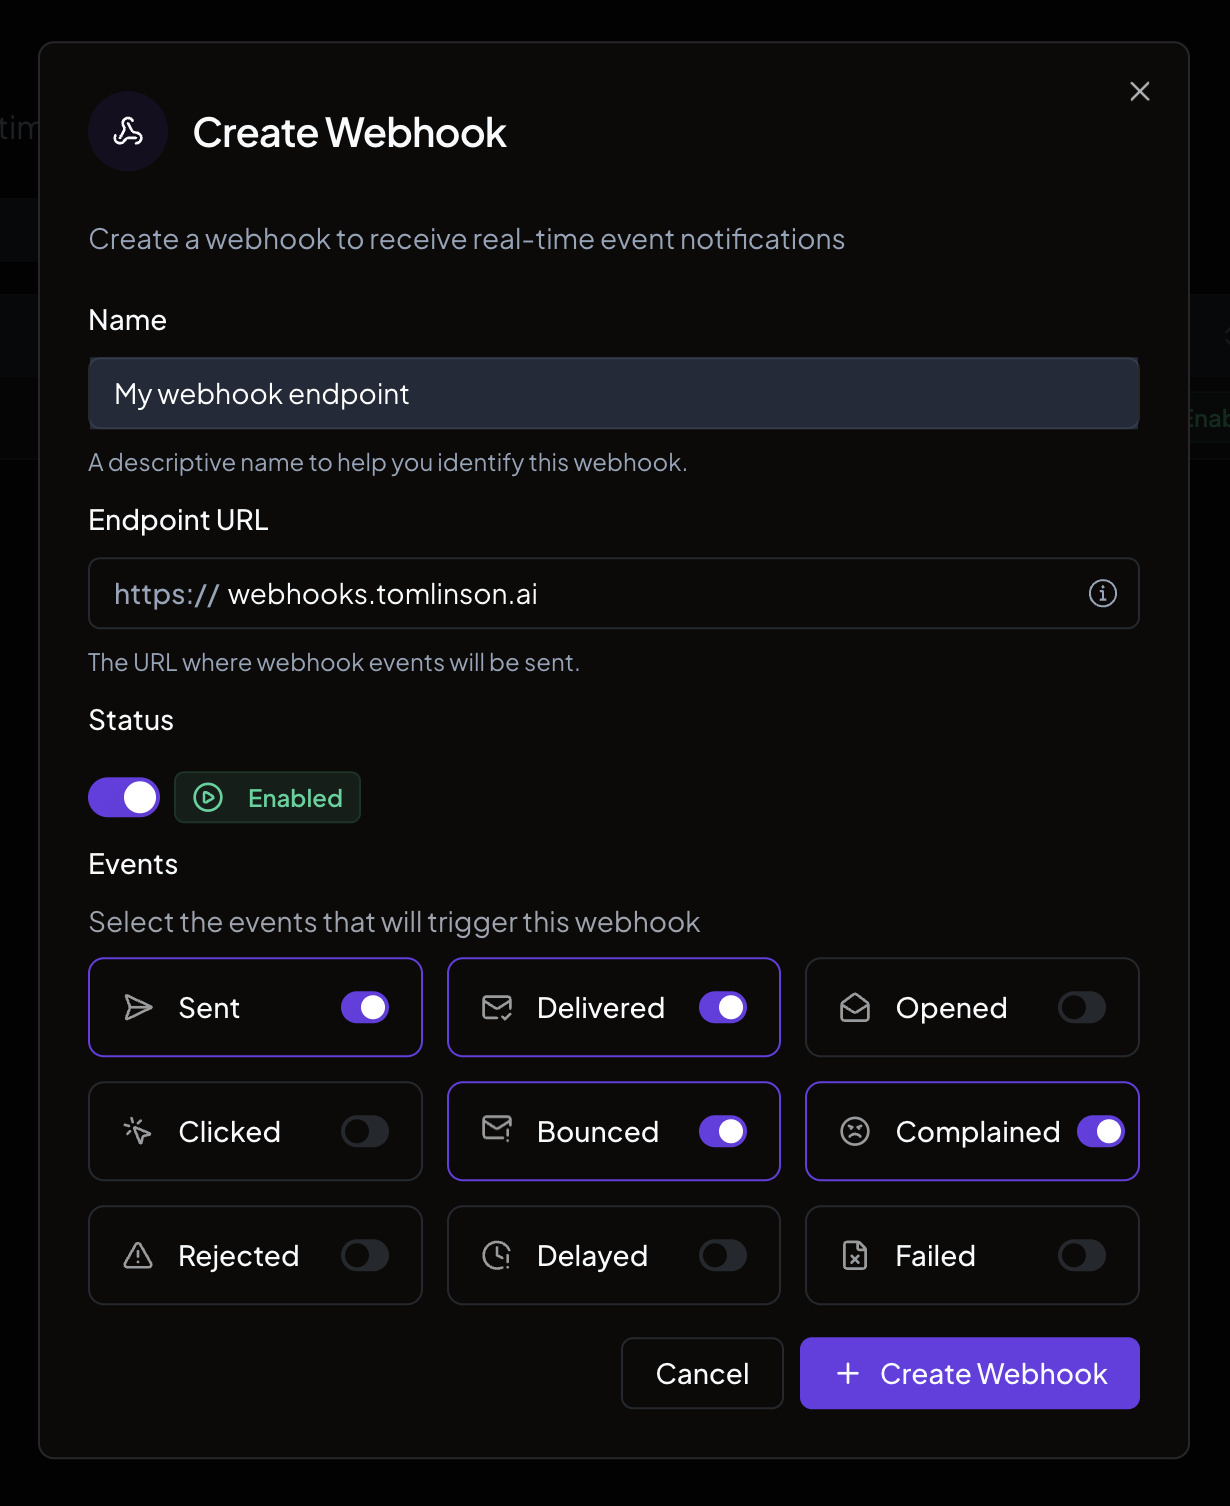
Save your signing secret
After the webhook is created, the signing secret is displayed. Copy it immediately. It is shown only once.
Create a webhook with the SDK
You can also create webhooks programmatically:Manage webhooks
From the webhooks list in the dashboard, you can:- Edit. Update the name, endpoint URL, events, or status.
- Rotate secret. Generate a new signing secret (remember to update your application with the new value).
- Delete. Remove the webhook entirely.